Wiring a Mass Connector
In the process of installing our systems, we often run into the need where multiple runs of microphones from various stage panels that have XLR connectors all have to feed to a central point where we need to allow a easy to connect and disconnect location. This is often used to allow a mixing console to reside in the control booth or be moved to a center of house location in the audience for a better mixing position. To do that, there are a few manufacturers that make multi-pin jacks that allow this easy and fast, reliable and durable quick connect to happen. In this example, we are referring to the Whirlwind brand Mass connector. Multiple pins allow each conductor to make a secure and solid connection for reliable and quality signal flow. These are tedious and takes a skilled hand and good eyesight to ensure a quality and reliable long term solution for our venues.
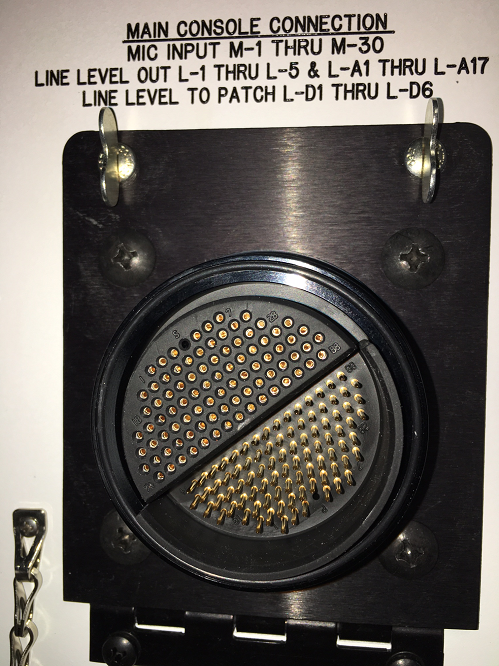
Seeing a Multi Pin connector in a panel, it looks so organized and simple.
How does it work? What is behind this neat connection?
It starts with a mass of wires, some pins, the connector and the tools to put it together.
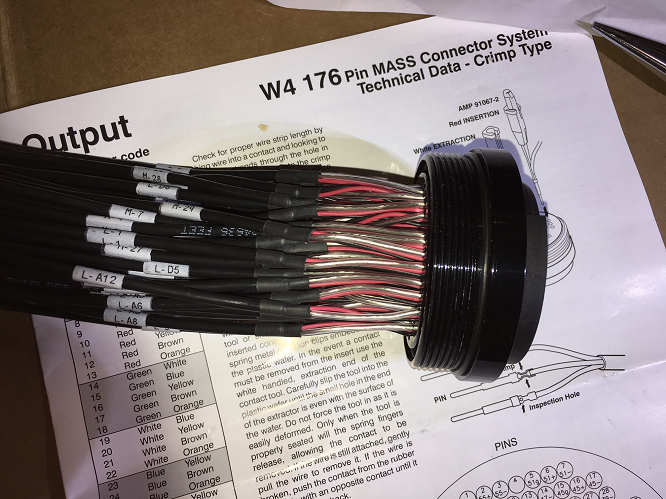
The wires are carefully marked to indicate what is connected to the other end.
A diagram is needed to assure each pin / connection is wired precisely to the correct position.
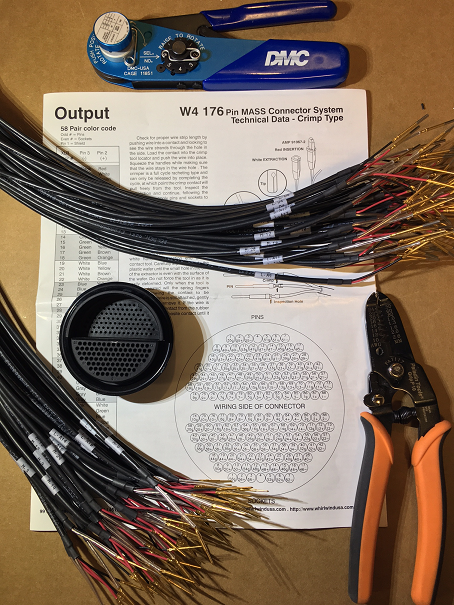
This is a labor intensive process. Assuring each wire is connected to the proper pin / receptacle.

After hours of painstaking, detailed work, the result is a mass connector.
The connector is mounted into a panel for a user friendly connection of the main panel.
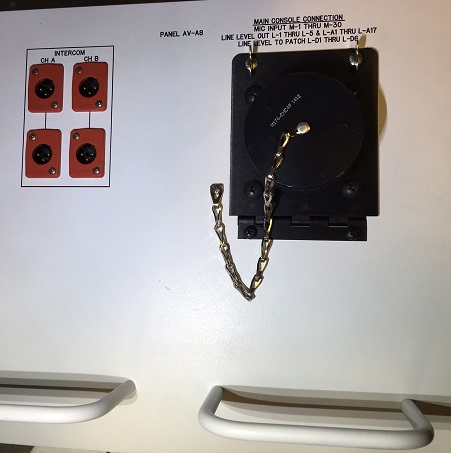
A cover is used to protect the connector and pins from dust, etc. within the environment.
When you subscribe to the blog, we will send you an e-mail when there are new updates on the site so you wouldn't miss them.


